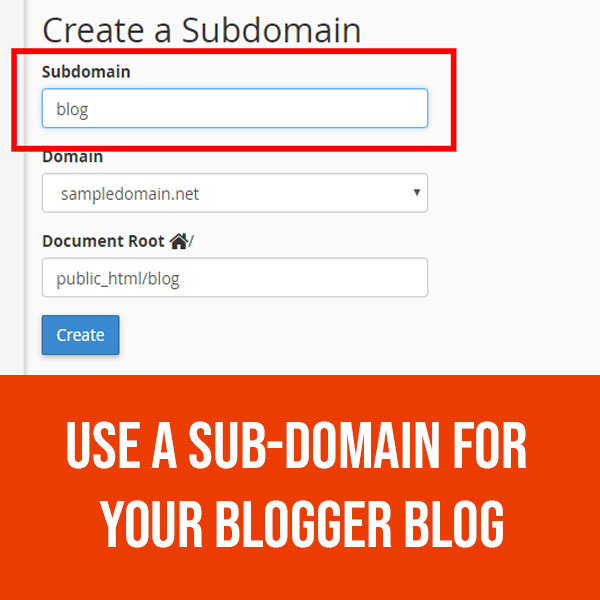
Blogger has been around for quite some years. It was originally created by a company called Pyra Labs, and the service was took over by Google Inc. in 2003. It is in-fact one of the oldest blogging service on the internet. When you register a new Blogger blog, you will be givin 2 options. You can either register your blog with a free sub-domain or you can get your own top-level domain. If you opt for a free sub-domain, your new blog address will look something like this.
myblog.blogspot.com
Here, you will be able to choose your own sub-domain, if you are fortunate enough to find your desired address available. However, this does not look professional. If you are serious about blogging and want to make your blog look reputable, you should probably buy a domain name and set it up as your Blogger custom name. With a top-level domain, the address of your Blogger blog will look like a regular website.
www.mydomainname.com
Setting your domain as the preferred domain on blogger is pretty straightforward. It might be a perplexing if wish to have your blog on a sub-domain of your top-level domain name.
blog.mydomainname.com
Many people would like to have a static website or something on the root domain (domain.com) and use a sub-domain for their blog. If you rather want to map a sub-domain to your blogger blog, follow the steps below.
How To Map a Sub-domain to a Blogger Blog?
First things first, you will need a domain name. If you don’t have one yet, you can register your preferred domain with any of the top registrars on the internet. I highly recommend GoDaddy Inc. You can also search for the term ‘buy domain’ and choose any registrar of your choice.
One also gets to buy domain directly from Blogger. It can make the mapping process much easier, however if you plan to move your blog to your own hosting service later, it is advised to buy your domain from a registrar like GoDaddy Inc or Name.com.
If you already have a website on the root (top-level) domain, the default Name Server (NS) of the domain would have been changed to your hosting NS. In both cases you don’t have to worry about changing them again. The thing that you need to consider here is CNAME Records.
You will have to add two new CNAME Records. If your top-level domain (domain.com) is self-hosted, you can add the Records by logging in to your web-hosting cPanel. There should be an option called ”DNS Zone Editor” or something similar. If you open the DNS Zone Editor you will find the option to add new CNAME Records.
CNAME #1: For the 1st record in the field that says, Name, Host or Label enter your preferred sub-domain. If you want your blog to be on blog.mydomainname.com, you need to add the word ‘blog’ (without the quotes) in this field. Usually you will have to add this word to the very 1st field. In the 2nd field, which is usually labeled as, Target, Destination, Points To, you will need to add ‘ghs.google.com’ (Of course without the quotes).
CNAME #2: This CNAME will be unique for each and every blogger blog. To find out this, you need to log in to your blogger account and go to the settings page of the blog that you would like to map your sub-domain to.
Refer to the image above. Click on ‘Advanced Settings’ and enter your preferred sub-domain in the field. Now you will need to click the ‘settings instructions’ you will be taken to a different page, where you will be provided with the details.
You will be provided with a strange yet unique string like ”3KLH6FDRP83M” to be entered as Name and “gv-KWRK7QSX25U6ZT.dv.googlehosted.com.” to be entered as Target, or Destination.
Once you have added the 2 CNAMEs you can go back to your Blogger settings page and hit the Save button.
It can take from a few hours to even a couple of days for the settings to take effect. So be patient and visit your blog after a couple of hours, it should load on your preferred sub-domain.


Recent Comments